Showing posts with label #BSA626. Show all posts
Showing posts with label #BSA626. Show all posts
Friday, 10 July 2020
3D Animation 10/7
Final post for this class this year. I am not happy with my final work, I didnt spend nearly enough time on it due to various reasons including my own poor time management, and not recognising I needed help earlier. At this stage I am just hoping to get enough to pass so that I can learn from my mistakes and improve on them for next year(providing I decide to/am able to carry on). Im sorry Rachel, I am as disappointed in myself as you are and I will try my best to not let you down in future classes.

Wednesday, 24 June 2020
3D Animation 24/6
Render Farm

Render Settings
make sure scene is set to 25fps
image format - exr
frame/animation ext - name_#.ext
frame padding 4
frame range = 1-final frame (frames that get rendered)
select camera
HD_1080
Copy the entire project folder to Y:RenderFarm. Test copied file to make sure the textures are still linked. Set project to the y drive folder. Clean up the frame numbers to whole numbers.

Hit reload to test that the textures are still linked, if not go and find one of the files then reload all textures to relink them all.
Open Deadline Monitor to access the render farm. Select Submit -> Maya. Name the job with name. Open machine list and add computers that are marked as free in the monitor. Direct Project Directory to your folder. Maya file = your project file then setup the output to the Y:RenderFarm folder. Frames per task = 4 and list frames 1-final frame number.
Open After Effects and open the files making sure to select exr sequence and set project to 25fps. Run the animation to make sure lighting and textures look how u want them to. Any broken or missing frames can be rendered individually without the full scene. Render out from after effects into premiere to combine into the final animation.

Final base textures. Im using photoshop to modify them further to get the scene that I want.
Friday, 19 June 2020
3D Animation 19/6

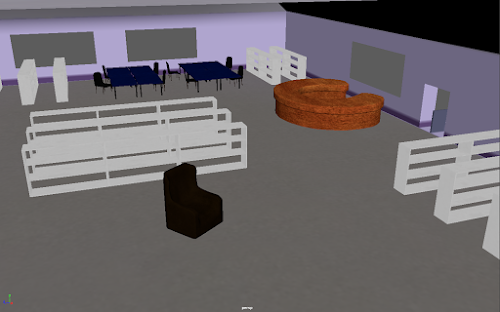
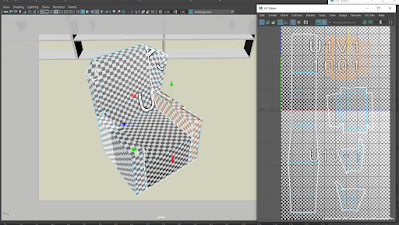
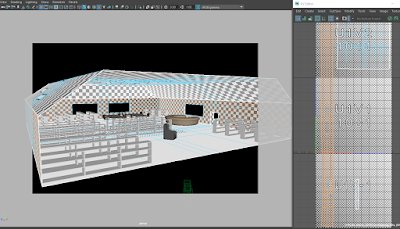
All Uvs in the library are now unwrapped and optimised. I need to separate out the roof/walls/floor into separate lamberts for substance painter so that I can texture them individually. I also need to go back in and rework the armchair unwrap as currently there is a lot of tearing around the upper arm/neck area of the uv shell. Painted Steel with a little rust and coloured white seems to be close to what I want for the bookshelf texture.
Wednesday, 17 June 2020
3D Animation 17/6
Today was focusing on my environment, I needed a break from the weight painting to be honest and its been a while since I have sunk any kind of decent time into this part of my project. I need to UV unwrap and texture everything in the library, and I really need to figure out some more details for my arena so its not all just the same solid object over and over in each shot.




3D Animation 15/6
More weight painting! Trying to get my characters chest to not completely fold in on itself is a mission. Its the last part to do and then I can move onto the jump/walk cycle finally. I need to stop ignoring the environment as well and get at least one of them ready to go for fridays lighting tutorial.

Hopefully with some more tinkering I can get it resembling something like a chest should when she is curled up. Its a lot of effort for only one shot but oh well.
Thursday, 11 June 2020
3D Animation 10/6
Weight painting. What a pain in the butt! I think Ive got the hang of it but it sure can be finicky.


White is fully influenced by the skeleton joint, black is no influence.


Monday, 11 May 2020
3D Animation 11/5
Dynamics - controlled by physics not keyframes.

Start with the FX option to change the menus.
Bouncing ball animation. Start with a sphere and a ground plane. To make the floor stay where it is go into the fields/solvers tab.

For the floor select create passive rigid body and for the ball select create active rigid body. Select the ball, and click on gravity. Normal gravity is 9.8.

Under Attribute Editor for the ball, you can adjust the rigid body attributes to change how the ball drops. You can reduce the bounciness of the floor in the rigid body attributes while the floor plane is selected. Consider how shiny the surfaces are when working out how much friction to apply. You can apply more than one field to an object to change how its movement is calculated.
To make a pendulum swing out of the ball, add a rigidnailconstraint and adjust the arrows to where you want the swing point to be.

Make sure to turn all the bricks into activerigidbodies after clearing any history to create the collision. Make sure to add gravity to the bricks as well.
Intro to nCloth
Turn the object into cloth using the ncloth button

The nucleus contains the attributes, gravity and wind adjustments. turn the use plane on and make sure its lined up with the floor plane. Dont forget double sided lighting for the cloth object. the ncloth node has the collisions options for the object. Dynamic properties contains the stretch bend and rigidity sliders. Shear is the diagonal tension on the object.

To attach the flag to the pole select point to surface in the constraint menu after selecting the vertexes you want to attach.

Assign a passive collider to the cloth object to tell maya that the object will collide but not rigid. Keep adjusting the wind and gravity until the flag is moving the way you want, you might have to reduce the friction and stickiness to stop it folding on itself and staying folded. You can use keyframes on some of the settings to only affect the object in certain parts of the animation cycle.(Right click on the setting and Set Key when the bar is on the desired keyframe down below in the animation bar)

Start with the FX option to change the menus.
Bouncing ball animation. Start with a sphere and a ground plane. To make the floor stay where it is go into the fields/solvers tab.

For the floor select create passive rigid body and for the ball select create active rigid body. Select the ball, and click on gravity. Normal gravity is 9.8.
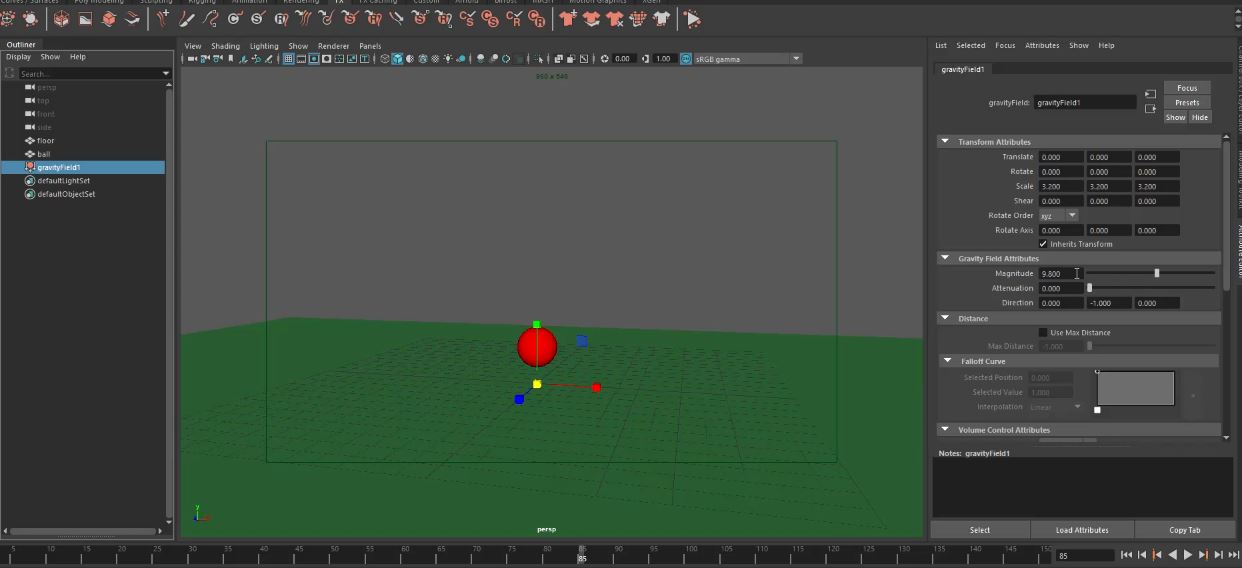
Under Attribute Editor for the ball, you can adjust the rigid body attributes to change how the ball drops. You can reduce the bounciness of the floor in the rigid body attributes while the floor plane is selected. Consider how shiny the surfaces are when working out how much friction to apply. You can apply more than one field to an object to change how its movement is calculated.
To make a pendulum swing out of the ball, add a rigidnailconstraint and adjust the arrows to where you want the swing point to be.

Make sure to turn all the bricks into activerigidbodies after clearing any history to create the collision. Make sure to add gravity to the bricks as well.
 |
| with no gravity added |
 |
| once gravity is added |
Turn the object into cloth using the ncloth button

The nucleus contains the attributes, gravity and wind adjustments. turn the use plane on and make sure its lined up with the floor plane. Dont forget double sided lighting for the cloth object. the ncloth node has the collisions options for the object. Dynamic properties contains the stretch bend and rigidity sliders. Shear is the diagonal tension on the object.

To attach the flag to the pole select point to surface in the constraint menu after selecting the vertexes you want to attach.

Assign a passive collider to the cloth object to tell maya that the object will collide but not rigid. Keep adjusting the wind and gravity until the flag is moving the way you want, you might have to reduce the friction and stickiness to stop it folding on itself and staying folded. You can use keyframes on some of the settings to only affect the object in certain parts of the animation cycle.(Right click on the setting and Set Key when the bar is on the desired keyframe down below in the animation bar)

Wednesday, 6 May 2020
3D Animation 6/5
Working on rounding her out now. Lots of extra edge loops to help with the shaping and stop the mesh vertices jumping around so much inbetween modes. The head needs a LOT of work still, but the body is getting there, although there is one line of edges that just stick out in the material for some reason and I havent managed to smooth them out yet. Normally wouldnt be an issue but I want to take the new modelled legs and turn them into the trousers, instead of the quick and dirty ones I currently have from weeks ago. Need to make some ears and hair as separate objects as well, to float over the head
 |
 |
 |
Monday, 4 May 2020
3D Animation 4/5
Bring a synopsis of where Im at for my 3D character for wednesdays live chat.
Plan of attack
Plan of attack
- get animatic done before next week so I can get feedback and change some things before its due on the 15th.
- get character modelled/textured/coloured ready for rigging
- restore my old sleep/work schedule to try and help with the crap motivation I currently have
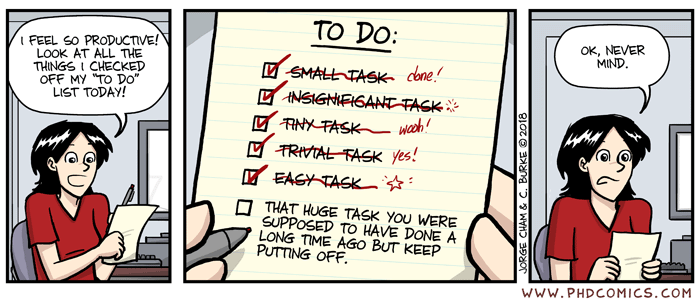
- consume copious amounts of alcohol, turn into a blubbering mess and somehow pull a completed assessment out of my butt to hand in on time (or is that third yr??? 😆)
 |
| http://phdcomics.com/comics/archive/phd030718s.gif |
Wednesday, 29 April 2020
3D Animation 29/4
Its been a bit rough trying to get back into the swing of things but I spent the whole day going through blackboard videos and working on my 3D character model so thats a start. Ive decided to try and add paws so that when she is holding the book, I can bend them around like fingers.. Wish me luck!

Made some progress in terms of texturing, I have the pants shell all split and lined up ready to go, just need to finish fleshing out the body and I can do that next.


The head needs more geography around the eyes and mouth, I have found a couple of images that could help but cat anatomy images all seem to be side on for some reason.


Made some progress in terms of texturing, I have the pants shell all split and lined up ready to go, just need to finish fleshing out the body and I can do that next.


The head needs more geography around the eyes and mouth, I have found a couple of images that could help but cat anatomy images all seem to be side on for some reason.


Friday, 27 March 2020
3D Animation 25/3
My 2D animatic is very rough, but at this stage it gives me enough of an idea to build my 3D animatic and I think that is more important. The sounds are not finalised, just place holders until I can get access to premiere and get tweaking. I just managed to figure out how to d/l the warner bros sound clips so will spend some time going through them to see if I can find the sounds I want. I have Music Maker from an old humble bundle that I bought, and I am going to play around in that to see if I can create some background music for my animation. Ive noticed that Im spending more time with the modelling for my 3D animatic, than actually setting up scenes but Im unsure if this is a bad thing at this stage since it is something I will have to do eventually anyway. I spent a lot of time trying to get good lighting for the picture in the render view until I realised that Im trying to jump ahead and should be modelling instead. Whoops!


Monday, 23 March 2020
3D Animation 23/3
Discord is now set up for this class in preparation for lockdown if it occurs. Now its just a matter of convincing the other classes to join in so everything is in one place.
3D Animatic is due friday next week, I have a lot to do to get on track for hand-in. Music, foley noises and sound effects for the final animatic. Bring a couple of scenes to class on wednesday for rachel to look at.
3D Animatic is due friday next week, I have a lot to do to get on track for hand-in. Music, foley noises and sound effects for the final animatic. Bring a couple of scenes to class on wednesday for rachel to look at.
Wednesday, 18 March 2020
3D Animation 18/3
Beginnings of my main animation location modelling. Library interior and librarians desk. Im undecided on whether I go for the rounded or square edge look. Looking forward to when we get to texture paint it a little better. The arena is going to be a little more complicated sadly.


Hit T for subdivisions box.
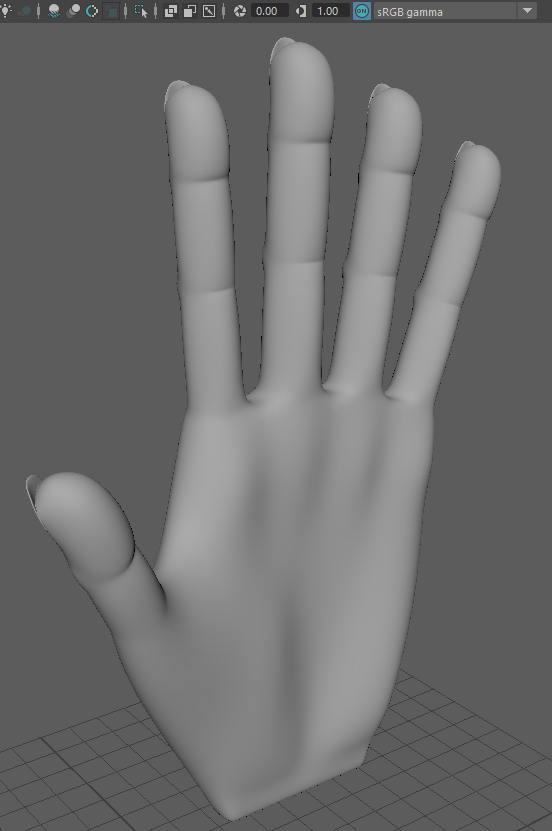
Modelling a hand for practice, rough view and smooth view. A lot of repetitive tools and commands but thats good because it will help me remember them eventually. Im happy with how it is turning out considering my very low modelling experience, it will be good once I can get faster and not get stuck lagging behind Rachel's lesson.


Hit T for subdivisions box.
Modelling a hand for practice, rough view and smooth view. A lot of repetitive tools and commands but thats good because it will help me remember them eventually. Im happy with how it is turning out considering my very low modelling experience, it will be good once I can get faster and not get stuck lagging behind Rachel's lesson.

Monday, 16 March 2020
3D Animation 16/3
 |
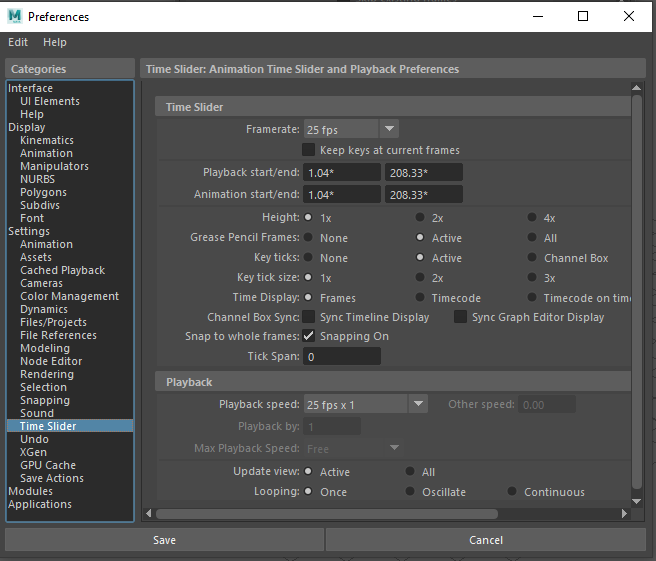
| Always check animations settings before starting a new animation |

 All major action needs to be inside the Safe Action(button 6) border due to differing manufacturer displays. Button 1 and 2 are the view gates, blacking out the non-rendered areas.
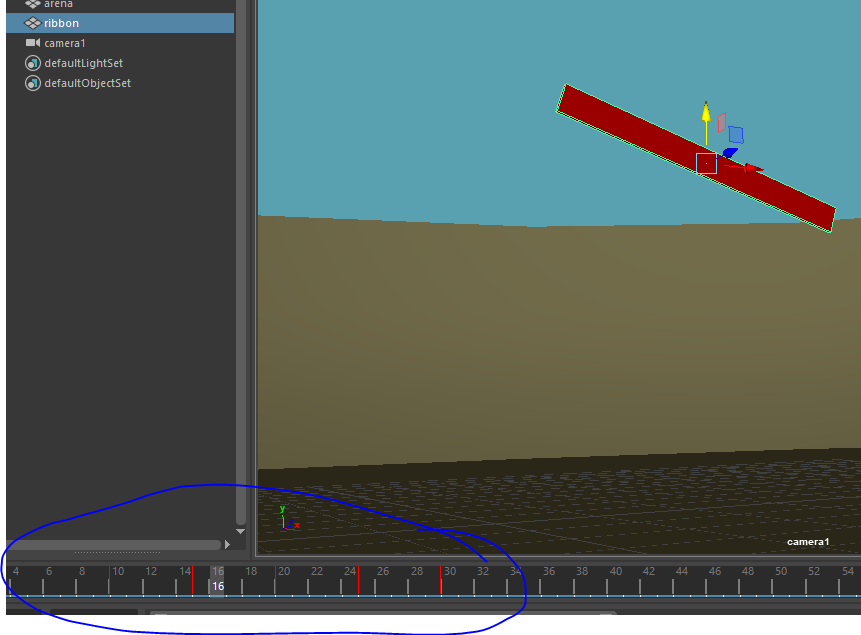
Make sure the frame number for the next keyframe is selected before moving the object otherwise it resets when u change the selected frame.
Wednesday, 11 March 2020
3D Animation 11/3
 |
Hit D to select the pivot and move it to the centre of gravity for the object. Always model in 1 view and check in 3 view.
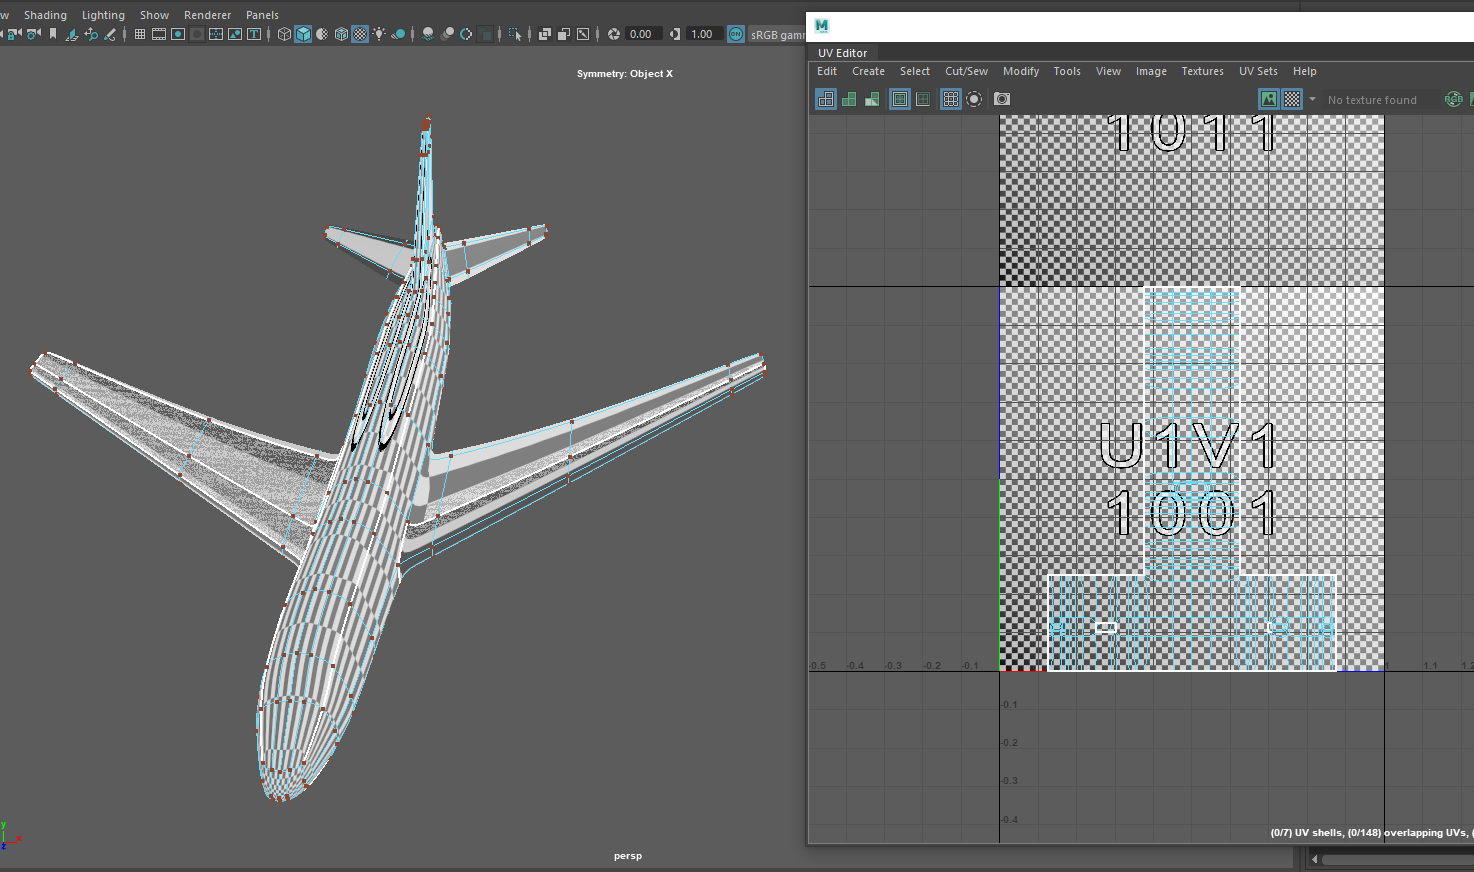 |
UV shell, the checkers need to be as uniform as possible to enable texture painting. Manipulate the UV editor to clean up the object checkers.
Always start with a cube!!!
Roughing out the torso and creating the arms.
Always start with a cube!!!
 |
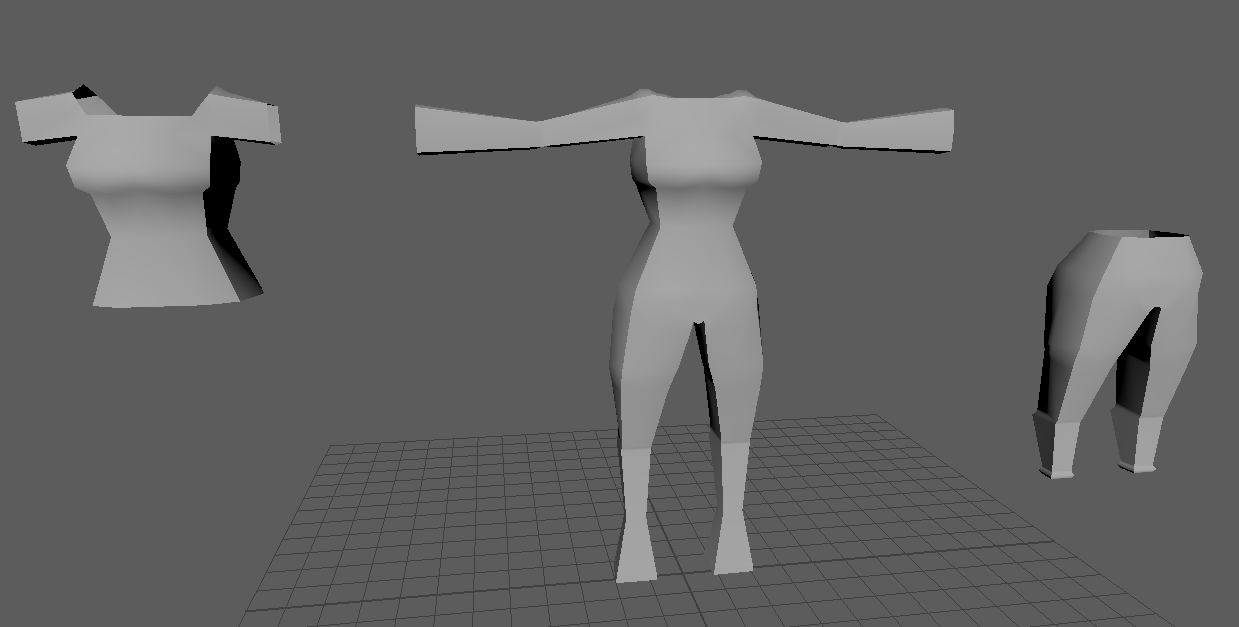 |
| Hard edge view |
 |
| Soft edge view |
Monday, 9 March 2020
3D Animation 9/3


Subscribe to:
Posts (Atom)
BSA702 14/7
arrays and lists Quick and Easy Galaxy painting great tutorial I found when I was looking for a background for my pitch tomorrow. I want t...

-
Character/Game idea colour dropper - player has a set amount of time to pick a colour to stand on, all other colours drop out causing player...
-
2019.1.8f1 unity version - update home install to match. Look into the software bundles I got from humble and see if they are useable for cl...
-
 Preliminary game-flow chart Make a title Colour Party Who is the game for Ages 6 and up What is the game play style 3D, Round based colour m...