Wednesday, 11 November 2020
Gaming 11/11
Wednesday, 4 November 2020
Gaming 4/11
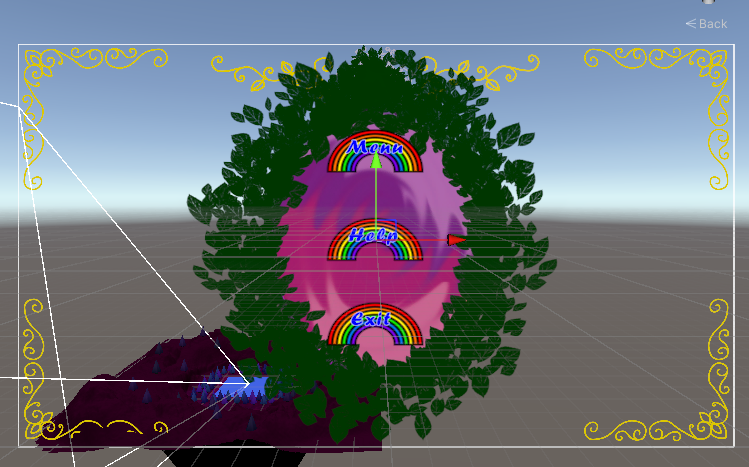
I decided to move all the floor cubes together so there is no gap. There was no simple way to align them so I ended up recreating the entire floor from a single object. The pause menu works now too, just need to add in the sprites for the buttons and test that I have linked the buttons correctly to their functions. 90% of what I have left is purely cosmetic thankfully, so I am in for a busy weekend.
Thursday, 29 October 2020
Gaming 28/10
Got a basic idle done, Im not sure on this cycle but as a prototype I think it is ok. I was aiming for something similar to a bored kid rocking on their heels and swinging their arms, but of course the shorter appendages on my character limit the movement.
Thursday, 22 October 2020
Gaming 21/10
Weight painting is finished, I keep falling into my old habits of being too particular and finicky. I got a basic run cycle started, just need to smooth it out and add the personality touches. I am almost tempted to start over but we shall see.
Thursday, 15 October 2020
Coding 15/10
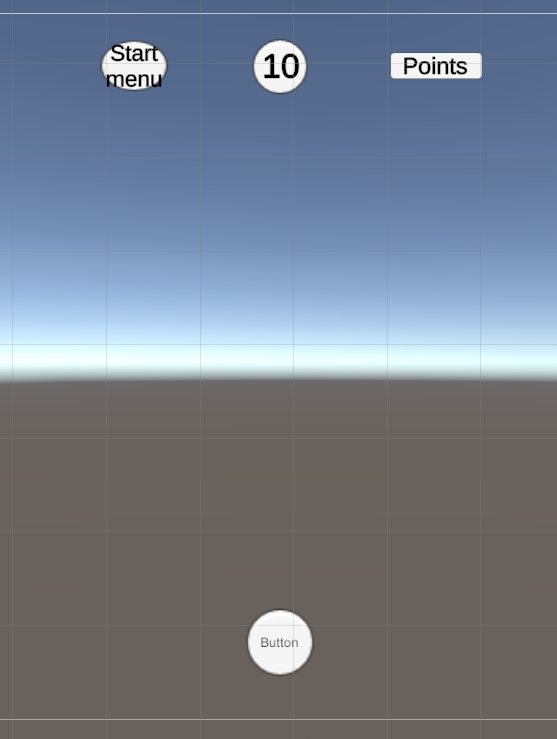
Finally got the HUD sprite to match the ingame colours and a matching 10s countdown to go with it after a bit of tweaking and google!
Wednesday, 14 October 2020
Gaming 14/10
Thursday, 8 October 2020
Coding 8/10
Today Joe and myself figured out the floor reset function and the time delay. I have to hunt down the cooldown timer code from last years project and add a cooldown into the gamecontroller script for next week. The vortex has two concepts so far, either a solid cone with textures and smoke particle type effect, or a spiral spring rotating. I need to look into how both look before I make the final decision.
Need to find a way to limit the selected colour to one that is actually present on the floor in the coding.
Wednesday, 7 October 2020
Gaming 7/10
Finally got the rig sitting right. It took me several tries due to having an issue with lingering movement history making it bug out(same issue as last year). Thankfully I remembered and fixed it which will make the cycles a lot easier when im up to them.
Thursday, 1 October 2020
Coding 1/10
Started with the floor creation and colour picking script. I need to add the extra materials to the randomcolour script for the levels. I do need to spend more time at home working on turning the whitebox into the final game however.
Wednesday, 30 September 2020
Gaming 30/9
Thursday, 24 September 2020
Coding 24/9
Expanding Our Character Controller.
Now that we have a character that can stand with an idle animation and run at different speeds with a walk and run animation, we will expand the player abilities by making it able to jump.To begin open up the Player script in your script editor.
- We will start by adding some new variables to the top of my script.
- In the variables area, making sure to be above the Start() function but below the opening squiggly. Type the below lines of code.
public float gravity = 9.8f;
public float jumpSpeed = 4f;
private float directionY;
Now we need to check when the player is pressing the Input that will trigger the character to jump.
- In the Update() function below the line “direction = new Vector3…” type the below lines of code.
If(Input.GetButtonDown(“Jump”)){
direction = jumpSpeed;
}
Next we need to apply our gravity once we jump.
- Under the if() statement we just created. But above the line “if(direction.magnitude…” type the following line of code.
direction -= gravity * Time.deltaTime;
Now we need to change the bit in our script which tell our character to move to also now take into account the jump movement.
- To do this first Inside the if(direction.magnitude >= 0.1f) statement, we need to turn our ‘Vector3 moveDir’ variable, which is currently private only to the if statement. Into a public variable.
- At the top of our script where the variables are written above the Start() function write the below line of code.
private Vector3 moveDir;
- Now, back inside the if(direction.magnitude >= 0.1f) statement, we need to find the line starting with “Vector3 moveDir = Quaternion…” and delete the Vector3 at the start.
- Now underneath the line we just changed. Write the below line of code.
moveDir.y = directionY;
Now go back into Unity and play the game. You should notice that if the player is standing still and you press the space bar, the character will not jump. BUT if you run and press the space bar the character will jump.
- To fix this we need to check if the character is standing still.
- To do this at the end of the if(direction.magnitude >= 0.1f) statement, we need to add an ‘else if’ statement.
- To do this after the closing squiggly add in the following two lines of code.
else if(direction.magnitude <= 0.1f){
moveDir = new Vector3(0, directionY, 0);
controller.Move(moveDir * speed * Time.deltaTime);
}
Now play the game again and press the space bar while the character is standing still. The character
should now jump straight up in the air.
Finally, we need to add in the jump animation.
- In the hierarchy click on the Player GameObject and then open the Animator window.
- Make sure you are in the base layer. (You should see the green empty state transitioning to the Blend Tree)
- In your project window find the Animations folder and then find the BasicMotions@Jump01 files.
- Click the drop-down triangle to open it up and then drag and drop the BasicMotion@Jump01 animation into the Animator window.
- Next right click on the Blend Tree animation state and choose ‘Make Transition’.
- Drag the transition arrow down to the Jump animation state.
- Do the same again but going from the Jump animation state to the Blend Tree.
- Now still in the Animator window, click on the Parameters tab and then the plus button to add a new Trigger parameter.
- Rename the new Trigger parameter to Jump.
- Next we need to create the conditions that will make the move Blend Tree transition to the jump animation.
- Click on the transition going between the Blend Tree and the Jump animation states.
- Now in the inspector untick the Has Exit Time toggle.
- Change the Transition Duration to 0.
- Find the Conditions area and click the plus button.
- In the drop-down menu select ‘Jump’.
- Now we need to go back to the Player script.
- Inside the ‘if(Input.GetButtonDown…)’ statement we need to tell our Animator to trigger the Jump parameter.
- Under the ‘directionY = jumpSpeed;’ line write the below line of code.
myAni.ResetTrigger(“Jump”);
myAni.SetTrigger(“Jump”);
Now PLAY your game. Hit the space bar are you character should now Jump in the air and play the Jump animation.
Now try hitting space bar again while in the air. You should notice a problem where the player jumps again while still completing the first Jump. Lets fix that.
Back in the player script we need to figure out if the character is already on the ground while jumping.
- Open up the Player script.
- At the top of the script in the variables area but above the Start() function write the below
lines of code.
private bool isGrounded;
private RaycastHit hit;
public float distanceToHit = 0;
- Now at the top of you Update() function we need to create Raycast that will look straight down from the character and tell us how far away the object that it is hitting is.
- At the top of the Update() function, under the first squiggly bracket type the flowing lines of code.
if (Physics.Raycast(transform.position, transform.TransformDirection(Vector3.down), out hit, Mathf.Infinity))
{
if (hit.distance <= 0.1f)
{
isGrounded = true;
}else if (hit.distance >= 0.1f)
{
isGrounded = false;
}
}
This script is checking how far away from the player the ground is and then changing the isGrounded
bool depending on that distance.
Now the last thing we need to do is to check if the player isGrounded before we allow the player to
jump.
- In the Update() function, find the line of code ‘if(Input.GetButtonDown(“Jump”)’
- Change this line so that it looks like the below line of code.
if(Input.GetButtonDown(“Jump”) && isGrounded)
Now PLAY your game and try to jump while pressing the space bar and the character should now
only jump once.
Gaming 23/9
Untextured pieces of my current 3D character model. Next step is UV unwrapping and sending it to Substance Painter
Thursday, 17 September 2020
Coding 17/9
1st year recap
3 sections to coding:Variables, Functions and Methods
- Variables store data that can be referenced or changed, basically any assets can be stored and referenced as variables. The 4 main types we are using are Strings(Basically ASCII storage of names, passwords, dialogue etc. Cannot be used for calculations), Ints(Integer, whole numbers only), Floats(Any number with a decimal place, used in % type health bars) and Bools(Boolean, true/false, yes/no) .
- Functions are blocks of code that are triggered at specific times in your game. We are using 3 main ones: Start(), Update() - runs on each frame refresh and FixedUpdate() - runs on a set frame rate.
- Methods are similar to functions but only run when they are "called". Methods can have a lot of code/instructions then we can call it with a single line of code in a Function.
- = symbol tells a variable that there is a new value
- == symbol is asking to check what the current value of the variable is
- "if" statements checks values before a piece of code is run
- "if else" statements are the same as If statements with an extra code that runs if the first part is true and will do nothing if the first part is false.
- && symbol tells the code to check more than one variable before running the code. Both must be true before the code will run
- || symbol means "or" in which the code will run if one of the two conditions are met.
- Short form boolean writing is where the variable is shortened to the name only ie: if(jump == true) gets shortened to if(jump). if(jump == false) shortens to if(!jump).
- // comments out anything written after them
Wednesday, 2 September 2020
Wednesday, 26 August 2020
Gaming 26/8
Find a better apk emulator to use for testing my game - apkonline is crap! Also look into mobile touch input coding for movement button press etc.
Wednesday, 19 August 2020
Gaming 19/8
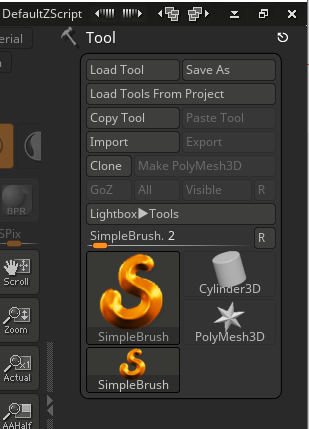
Zbrush - save tool to save progress, not document. after importing hold left mouse and shift then drag to create the object. use right mouse button to move, hold alt and move with right mouse then release alt to zoom in and out.
Hit subtool, then append and add a random tool. make sure its selected then import the next item you want. do this for each part of the model.
Wednesday, 12 August 2020
Gaming 12/8
Wednesday, 5 August 2020
Gaming 5/8
- Title Page
- Contents
- Gameflow chart
- Level Design map
- Character Art
- Environment Art
- Mechanics/Hazards/Economy
Wednesday, 29 July 2020
Gaming 29/7
Wednesday, 22 July 2020
Gaming 22/7
- Make a title
- Colour Party
- Who is the game for
- Ages 6 and up
- What is the game play style
- 3D, Round based colour matching game
- What is the goal(rewards/gratification)
- Saving your friends via unlocking each character using in-game points accumulated each round
BSA702 14/7
arrays and lists Quick and Easy Galaxy painting great tutorial I found when I was looking for a background for my pitch tomorrow. I want t...
-
Character/Game idea colour dropper - player has a set amount of time to pick a colour to stand on, all other colours drop out causing player...
-
2019.1.8f1 unity version - update home install to match. Look into the software bundles I got from humble and see if they are useable for cl...
-
Preliminary game-flow chart Make a title Colour Party Who is the game for Ages 6 and up What is the game play style 3D, Round based colour m...